When the day gets longer and the weather warms, you may plan a few spring cleaning projects around the house. If you have an emergency kit, don’t forget to include it as part of your deep cleaning. Your kit may not have a thick film of dust or need routine maintenance, but it needs some regular TLC. Use these six tips, including cleaning your emergency light source and checking expiration dates on water and food, to ensure you’re always ready for the unexpected.
1. Clean Your Emergency Flashlight
Quality tactical flashlights or LED flashlights help in various emergency situations, but they perform best when clean. After checking the batteries, use a microfiber cloth or alcohol pad to get rid of grime and dirt clinging to your flashlight. If your light has a lot of grooves, you may need to use a hard toothbrush to restore its shine. Wipe the lens and use a cotton swab to clean the battery contacts for optimum performance.
2. Check the Expiration Dates on Food and Water
Water pouches, calorie bars, and other emergency rations only last for about five years before their packaging deteriorates. Check the expiration dates on emergency rations, and either compost or throw away food past its expiration date. If you have expired water, keep it for handwashing. Just make sure you label it clearly, so you do not drink it accidentally.
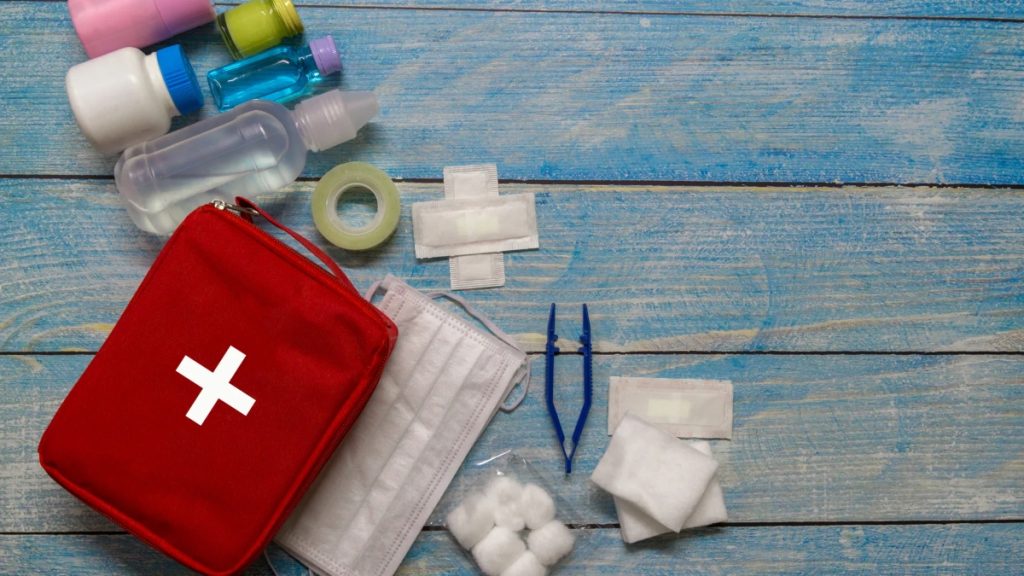
3. Double-Check Your First Aid Kit
Check the expiration dates on the first aid kit and other emergency medical supplies. Some ointments and medications become less potent over time, and others become harmful to consume once they expire. Consider talking to your doctor or a pharmacist for more professional tips about properly storing medication.
Inspect your first aid kit for tears, punctures, breaks, and similar signs of damage. Replace compromised items sooner rather than later, so you do not forget. Err on the side of caution and get rid of and replace anything you feel unsure about.
4. Make Sure All Batteries Hold a Charge
Not only does it help to store batteries outside the devices you want to use them in, but you should also check your emergency batteries occasionally to ensure they still hold a charge. Use a battery tester to check the batteries, and top off the charge on lithium-ion batteries and solar-powered devices.
5. Update Your Personal Information
If you moved since you last checked your emergency kit, it may have the wrong address. Check it, and other vital details, such as your contact information and the names of out-of-state friends and family to contact in case of emergency. Touch bases with your insurance provider to make sure your information’s current and accurate, in case you need to file an insurance claim to recover from an emergency. Depending on how much your life’s changed since your last policy check-up with your insurance agent, you may need to update your coverage to better recover from unforeseen calamities.
6. Take Care of Emergency Clothing Items
It’s essential to have the right clothing items to respond to emergencies. For instance, sweatshirts, hats, and gloves help keep you warm if your home loses power during a disaster. Check these items if you have them in your kit, and consider adding them if you don’t. Another useful clothing item for emergency kits is a reflective vest, which is great for making yourself visible.
Give yourself and your family one less thing to worry about during a crisis by including your emergency kit with your spring cleaning routine. Devoting a few minutes to the task could pay off big in distressing situations.

